Welcome to Prompt
Getting Started
After the initial launch and intro, Prompt will greet us with the Servers list.
We can configure and save a new server or utilize Quick Connect for quick one off connections.
Creating a Server

|
Let’s tap on the button in the bottom-left corner to create a new server. |
Choosing a Protocol

|
Tap on the “SSH” field at the top to select a different protocol. Prompt supports:
|
Prompt is not an official Mosh client. If you experience issues when using Mosh in Prompt, please let us know directly instead of filing issues with the Mosh project.
Custom Server icons
Did you know you can change the icon for servers?
![]() Tap the default server icon to the left of the server type and you’ll be able to select a different icon:
Tap the default server icon to the left of the server type and you’ll be able to select a different icon:
![]()
![]()
![]()
![]()
![]()
![]()
![]()
![]()
![]()
![]()
![]()
![]()
![]()
![]()
![]()
Or, choose an image from your photos to use as an icon! Like this image of my cat, Elinor I use as a server icon:

Server Configuration
With the protocol selected, let’s enter the information needed to connect to your server:
NameThe name that is displayed in the Server list. Prompt will automatically display the server address if a custom name is not specified. AddressThe URL or IP address for the remote server that Prompt will connect to. Port NumberIf you have a custom port that you use when connecting to the remote server, set it here. UsernameUsed when authenticating to the remote server. PasswordThe password required for the above user name. KeysTo connect using a private key, tap the key icon to the right of the password field, and select the desired key.
Jump Host |

|
🎉 Now we’re ready to save, or connect!
With all the fields configured, tap Done in the top-right to save the server. You can also use the Connect button to save the server and open a new session all at once.
Server Settings
Need even more settings? We’ve got you covered!
Tap on Server Settings to view all of the configurable options:
Text EncodingUnicode (UTF 8) is the default Text Encoding for Prompt. Tap to view or change supported encodings. FolderUse this option to add a Server to an existing Server Group. ThemeUsed to override the default terminal theme. Set a different theme for each server if you’d prefer, rainbow it up! |

|
Terminal TypeDefines how the information will be exchanged with the remote server. You can leave this at the default setting if you are unsure of the connection type. Startup CommandSet a command that will be sent to the remote server as part of the initial connection process. Keep Alive IntervalThe duration between transmissions of the Mosh PathOptional configuration for a mosh path Use Option As Meta KeyEnable sending the Delete Sends ^HSome servers expect a different keyboard command for Send Mouse EventsEnables sending mouse events to programs running in the terminal. Allow Clipboard WritingAllows programs running in the terminal to tell the terminal to put data on the clipboard. VPN On DemandTurn on Apple’s VPN On Demand Feature Force line modeSend Carriage return onlyClose On DisconnectCloses terminal windows automatically when disconnecting from the server. |

|
Quick Connect
|
Need to connect to a server really quick? Tap The Bolt™ (TTB) icon on the bottom-right, and the Quick Connect view will be displayed as shown below. Next, enter the following server information:
…then tap Connect, and Bob’s your uncle!
|

|
The Terminal
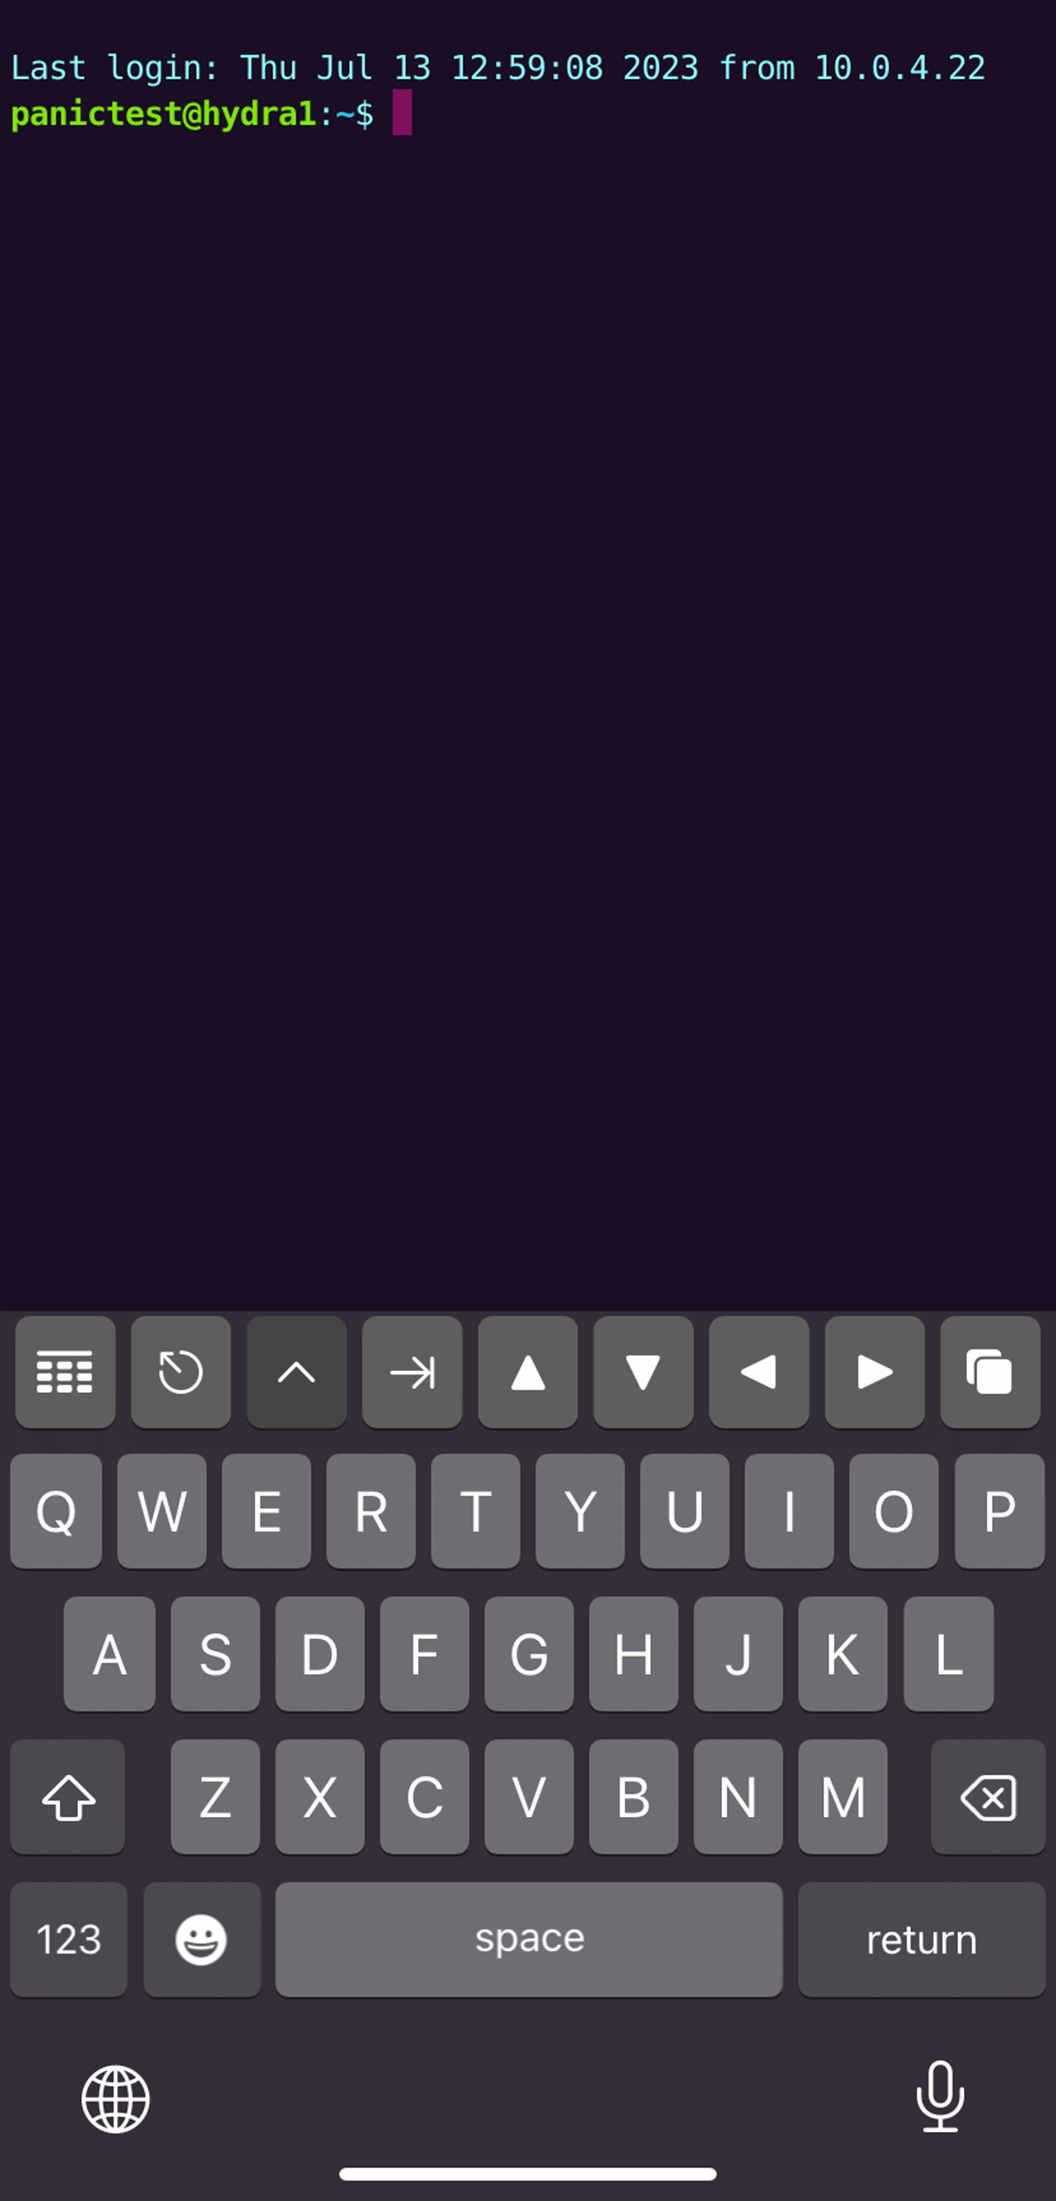
After the connection is established the Quick Connect panel will be replaced by the Terminal view:
AUTHENTICATION COMPLETE

Contacting Support
Have questions or need help with Prompt? Send us an email: prompt@panic.com.
If you’re contacting us with a tech support issue or a bug report, please make sure to include the following information so that we can help you as quickly as possible. Details are important!
- App version number (Gear icon > About)
- iOS version number and device type (iOS Settings > General > About)
- Any connection details, hosting/server type, configuration info, ant keys being used and type, etc.
We always want to help, bugs can be difficult to fix when we can’t reproduce the issue ourselves. If something isn’t working as expected, it helps to tell us:
- What did you try to do?
- What steps did you take to do that?
- What did you expect to happen?
- What happened instead?
If Prompt is crashing, make sure to add your name and email address to the crash log identifier section of iOS Settings > Prompt, then replicate the crash again. This allows us to identify your specific crash report.
Screenshots or screen recordings of the problem (specifically if an error message appears) are almost always helpful in troubleshooting.
Use the links below for more information on taking a screenshot or video on your specific device: